WP HTML Mail WooCommerce
Email header, logo, footer, colors and fonts
A few basic preparations are necessary before we can start with the content.
Navigate to SETTINGS -> EMAIL TEMPLATE and customize the general design options. Here’s a short video:
Afterwards let’s start editing the content
Customizing WooCommerce email content
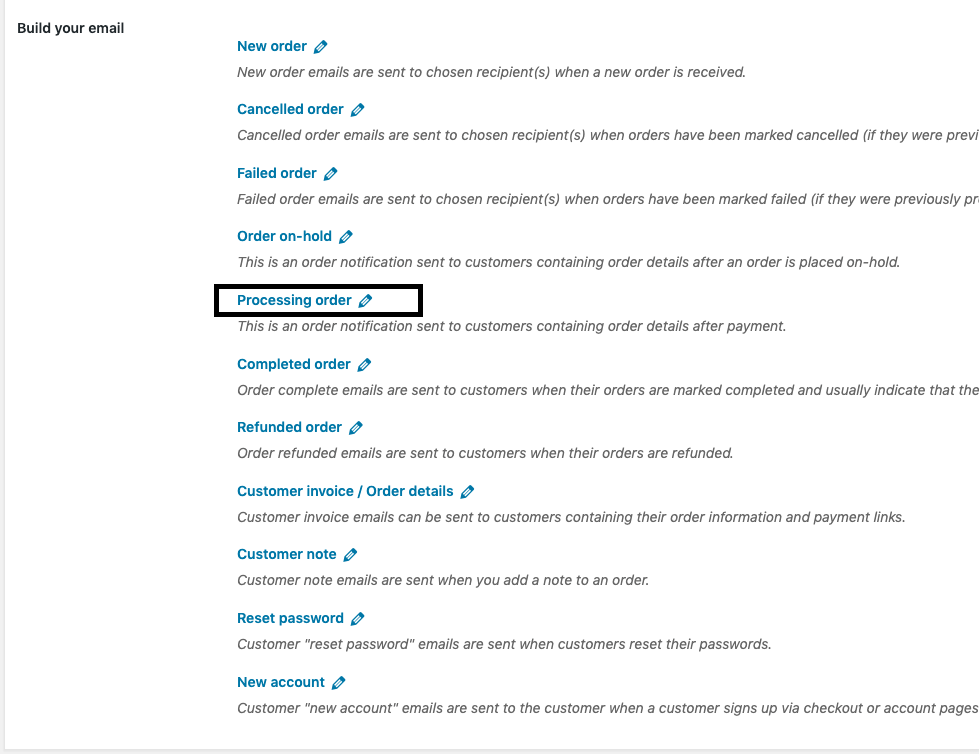
Navigate to the tab WOOCOMMERCE on the page SETTINGS -> EMAIL TEMPLATE and active the setting “Customize each email individually.”

Right below you will see a list of emails you can edit. Let’s start with “Processing order”
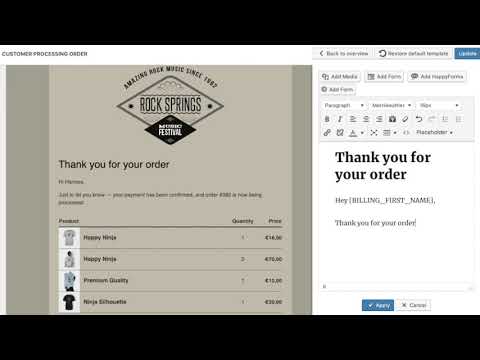
Changing the salutation and the introduction text
We see our email in a live preview window now, like it will be seen by the client later. Just click on the first text block now to customize it. The editor slides in from the right.
All other text blocks can be customized this way.
Modifying the products table
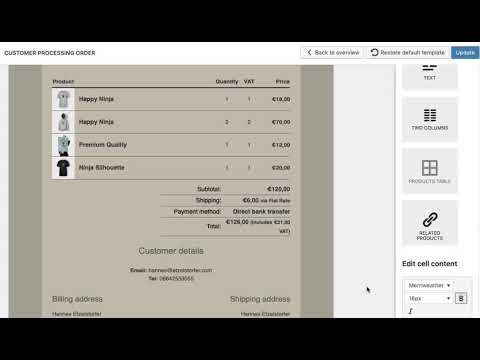
In this way you can also edit the products table, but keep in mind, that the content of this table changes with every order, so you just have to edit the headlines and the first product. All the other lines in the table will look the same.
Adding a column for VAT
You can add more columns or edit existing ones the same way.
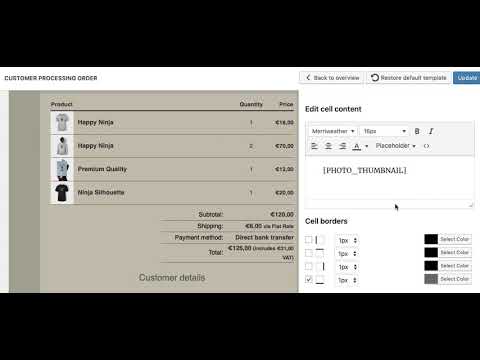
Changing product thumbnail sizes
Add your own placeholders to the email content
If you want to add your own placeholder for dynamic values from orders to your emails add this code to your (child-)themes functions.php:
add_filter( 'haet_mail_placeholder_menu', 'add_mailbuilder_placeholder' );
add_filter( 'haet_mail_order_placeholders', 'populate_mailbuilder_placeholder', 10, 3 );

function add_mailbuilder_placeholder( $placeholder_menu ){
    if( is_array( $placeholder_menu ) ){
        $placeholder_menu[] = array(
                'text'      => 'My Placholder Name',
                'tooltip'   => '[MY_PLACEHOLDER]',
            );
    }

    return $placeholder_menu;
}


function populate_mailbuilder_placeholder( $order, $wc_order, $settings ){
    $order['my_placeholder'] = 'your value';
    return $order;
}
The first function registers the placeholder, the second one adds a value.
Add a coupon code to the email content
Just register a placeholder like we did above and insert the coupons as value:
add_filter( 'haet_mail_placeholder_menu', 'add_mailbuilder_coupons_placeholder' );
add_filter( 'haet_mail_order_placeholders', 'populate_mailbuilder_coupons_placeholder', 10, 3 );
function add_mailbuilder_coupons_placeholder( $placeholder_menu ){
    if( is_array( $placeholder_menu ) ){
        $placeholder_menu[] = array(
                'text'      => 'Coupons',
                'tooltip'   => '[COUPONS]',
            );
    }
    return $placeholder_menu;
}

function populate_mailbuilder_coupons_placeholder( $order, $wc_order, $settings ){
    $coupons_text = '';
    if( $wc_order ){
        $coupons =  $wc_order->get_used_coupons();
        if( is_array( $coupons ) && count( $coupons ) ){
            $coupons_text .= 'You have used the following coupons: <br>';

            foreach( $coupons as $coupon_name ){

                // Retrieving the coupon ID
                $coupon_post_obj = get_page_by_title($coupon_name, OBJECT, 'shop_coupon');
                $coupon_id = $coupon_post_obj->ID;

                // Get an instance of WC_Coupon object in an array(necesary to use WC_Coupon methods)
                $coupons_obj = new WC_Coupon($coupon_id);
                $discount_type = $coupons_obj->get_discount_type();
                $amount_str = '';
                if( $discount_type == 'fixed_cart' )
                    $amount_str = '- €' . $coupons_obj->get_amount();
                elseif( $discount_type == 'percent' )
                    $amount_str = '- ' . $coupons_obj->get_amount() . '%';
                //elseif( $discount_type == ...

                $coupons_text .= '<strong>' . $coupons_obj->get_code() . '</strong>: ' . $amount_str . ', ';

            }
        }
    }
    $order['coupons'] = $coupons_text;
    return $order;
}
Related articles
Add Product Meta Field to WooCommerce emails
Translate WooCommerce emails with WPML and WP HTML Mail
Add Order Meta Field to WooCommerce emails
Add custom checkout fields to your WooCommerce emails

